
The following set of shell commands are among the basic steps to setup a Linux-based web server (LAMP=Linux Apache MySQL PHP). The procedure has been tested on an Ubuntu 14.04.05 Trusty Tahr (LTS) installation. Most steps and procedures are based on the tutorial found in DigitalOcean and in the linked pages.
In the commands that follow variables are shown as tags in angle brackets, like: <username>.
- Enable ssh root access
- Create sudo user
- Install Apache-MySQL-PHP
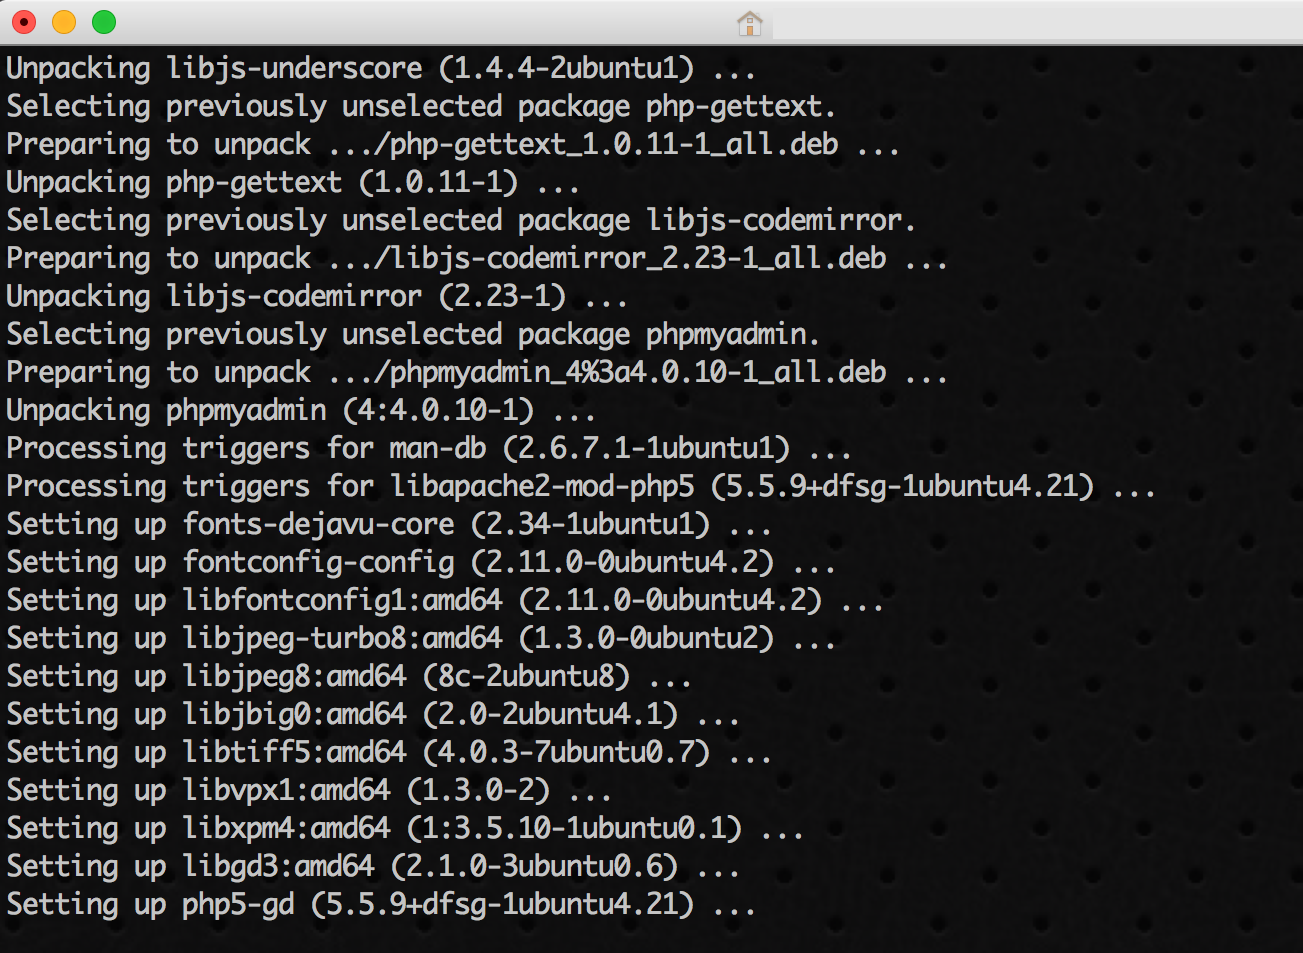
- Install PhpMyAdmin
- Create SSL certificate on Apache
- Install the FTP service
- Give folder access of apache web server files to the user
This might be needed if there is no remote ssh access (only web console or local).
nano /etc/ssh/sshd_config
# then change: PermitRootLogin yes
# and then restart SSH:
service ssh restart
This is a useful user account with elevated privileges.
adduserusermod -aG sudo
It might be a good idea to log in with this user account and continue…
# make sure everything is updated.
sudo apt-get update
# install Apache
sudo apt-get install apache2
# install MySQL
sudo apt-get install mysql-server php5-mysql
# create MySQL data structure
sudo mysql_install_db
# secure the MySQL installation
sudo mysql_secure_installation
# install PHP5
sudo apt-get install php5 libapache2-mod-php5 php5-mcrypt
# change the default file extension
sudo nano /etc/apache2/mods-enabled/dir.conf
# move the index.php at front of the list of filenames to load
sudo service apache2 restart
# install phpmyadmin package sudo apt-get install phpmyadmin apache2-utils # edit the configuration file sudo nano /etc/apache2/apache2.conf # insert: Include /etc/phpmyadmin/apache.conf # and then restart the server one more time... sudo service apache2 restart # edit the apache configuration file of phpmyadmin sudo nano /etc/phpmyadmin/apache.conf # add: AllowOverride All # just after: DirectoryIndex index.php # then create the .htaccess file sudo nano /usr/share/phpmyadmin/.htaccess # with the following contents AuthType Basic AuthName "Restricted Files" AuthUserFile /etc/apache2/.phpmyadmin.htpasswd Require valid-user # and now create the htpasswd file sudo htpasswd -c /etc/apache2/.phpmyadmin.htpasswd# ...and restart the server one more time. sudo service apache2 restart
# enable SSL sudo a2enmod ssl sudo service apache2 restart # create folder to save the keys and certificates sudo mkdir /etc/apache2/ssl # create a self-signed SSL certificate that will expire indays sudo openssl req -x509 -nodes -days -newkey rsa:2048 -keyout /etc/apache2/ssl/apache.key -out /etc/apache2/ssl/apache.crt # set up the certificate sudo nano /etc/apache2/sites-available/default-ssl.conf # insert: ServerName :443 # just below the ServerAdmin email entry # also change SSLCertificateFile field to: /etc/apache2/ssl/apache.crt # also change SSLCertificateKeyFile field to: /etc/apache2/ssl/apache.key # enable the virtual host sudo a2ensite default-ssl sudo service apache2 reload
sudo apt-get install vsftpd
sudo nano /etc/vsftpd.conf
# make sure to have:
anonymous_enable=NO
local_enable=YES
write_enable=YES
# check if needed to change:
chroot_local_user=YES
sudo service vsftpd restart
sudo apt-get install acl # giveaccess to the html folder sudo setfacl -m u: :rwx /var/www/html
The result will be a basic setup running LAMP. The best way to access the files is through SFTP. The browsers will have HTTPS access (but the certificate will be self-signed, so the browsers will complain about it).
Additional/optional steps that might be handy
Unix user manipulation and www-data
#Add a new user to the www-data group sudo useradd -g www-datasudo passwd #Add a new user to supplementary groups called www-data and ftp: sudo groupadd sudo useradd -g -G www-data,ftp sudo passwd #Add an existing user called to the www-data group: sudo usermod -a -G www-data #And check it: id groups
WordPress-specific tweak
#Shell command to give correct access to WordPress and be able to install plug-ins and themes (and have updates)
chown -R www-data:www-data /var/www
chmod -R ug+rw /var/www
