
⚡ Maximum Charging Speed at a Summer Home: A Practical Setup
To achieve maximum EV charging speed at a summer home equipped with a standard single-phase 8 kVA power supply and a portable charger, the only practical and safe option is to use a blue, industrial-type 32A socket and a compatible charger. This type of socket can theoretically handle up to 32 amps, which is typically the upper limit for such residential setups.
For a wiring run of up to ~20 meters, it is essential to use a cable of at least 3×6 mm2 to ensure safety and efficiency. Moving back along the line, this cable connects to a dedicated subpanel—a branch of the home’s main electrical panel. This subpanel should include:
- A main switch
- Surge protection
- A residual current device (RCD)
- A circuit breaker
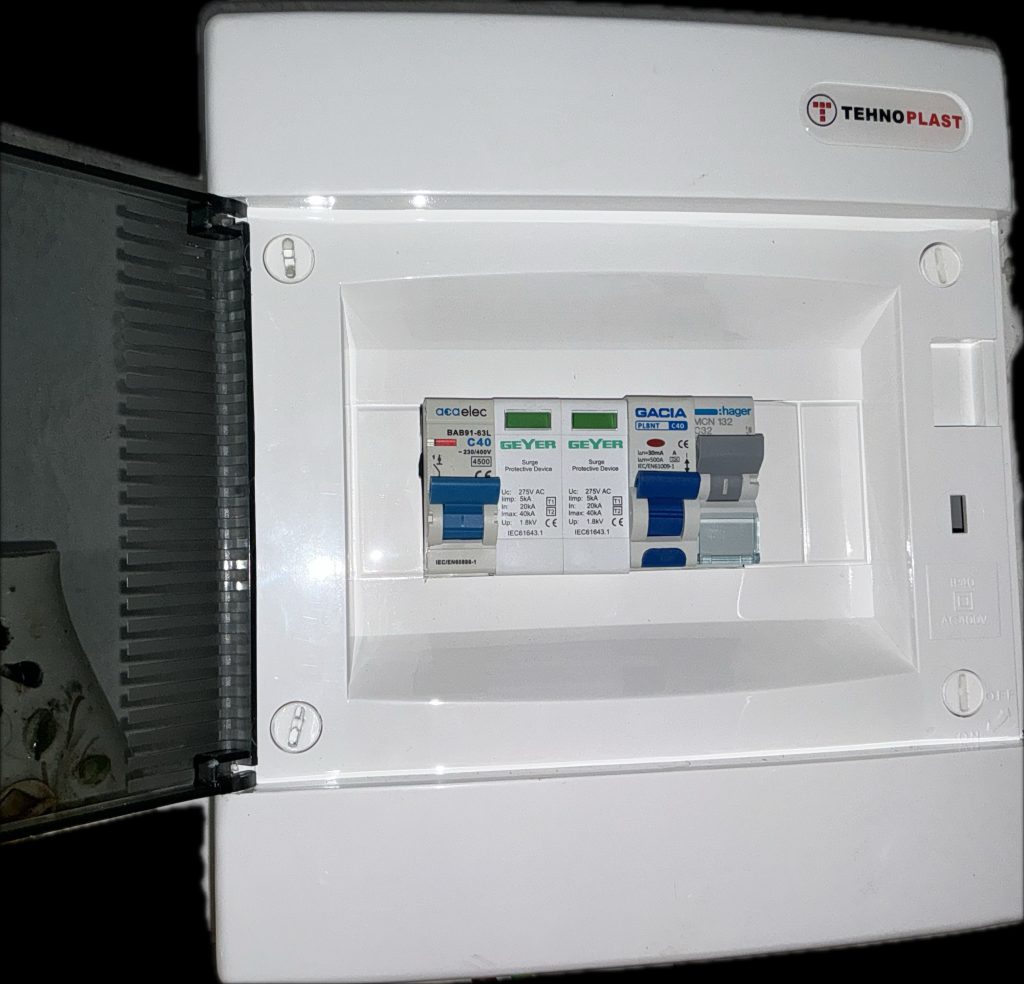
A 5-module DIN rail enclosure might suffice, but for ease of installation and future expansion, I recommend using an 8-module box.
The subpanel is connected to the main panel using a short cable, typically 3×10 mm2. It may be mounted next to the main panel for convenience. It is also recommender inside the panel to use the same type of cable.
⚠️ Safety Note
Electricity is not something to take lightly. If you lack proper training or experience, this guide should be used for informational purposes only, and the work should be carried out in collaboration with a licensed electrician.
For DIY enthusiasts: complete all wiring and component installations as well as the subpanel before connecting to the main panel. The final connection should only be made after the main breaker at the meter is turned off, not simply by switching off the home’s main breaker. Once everything is connected, power should be restored gradually, turning on switches one by one to check for faults (e.g., tripping breakers), which may indicate wiring or load issues.
🔌 Real-World Example
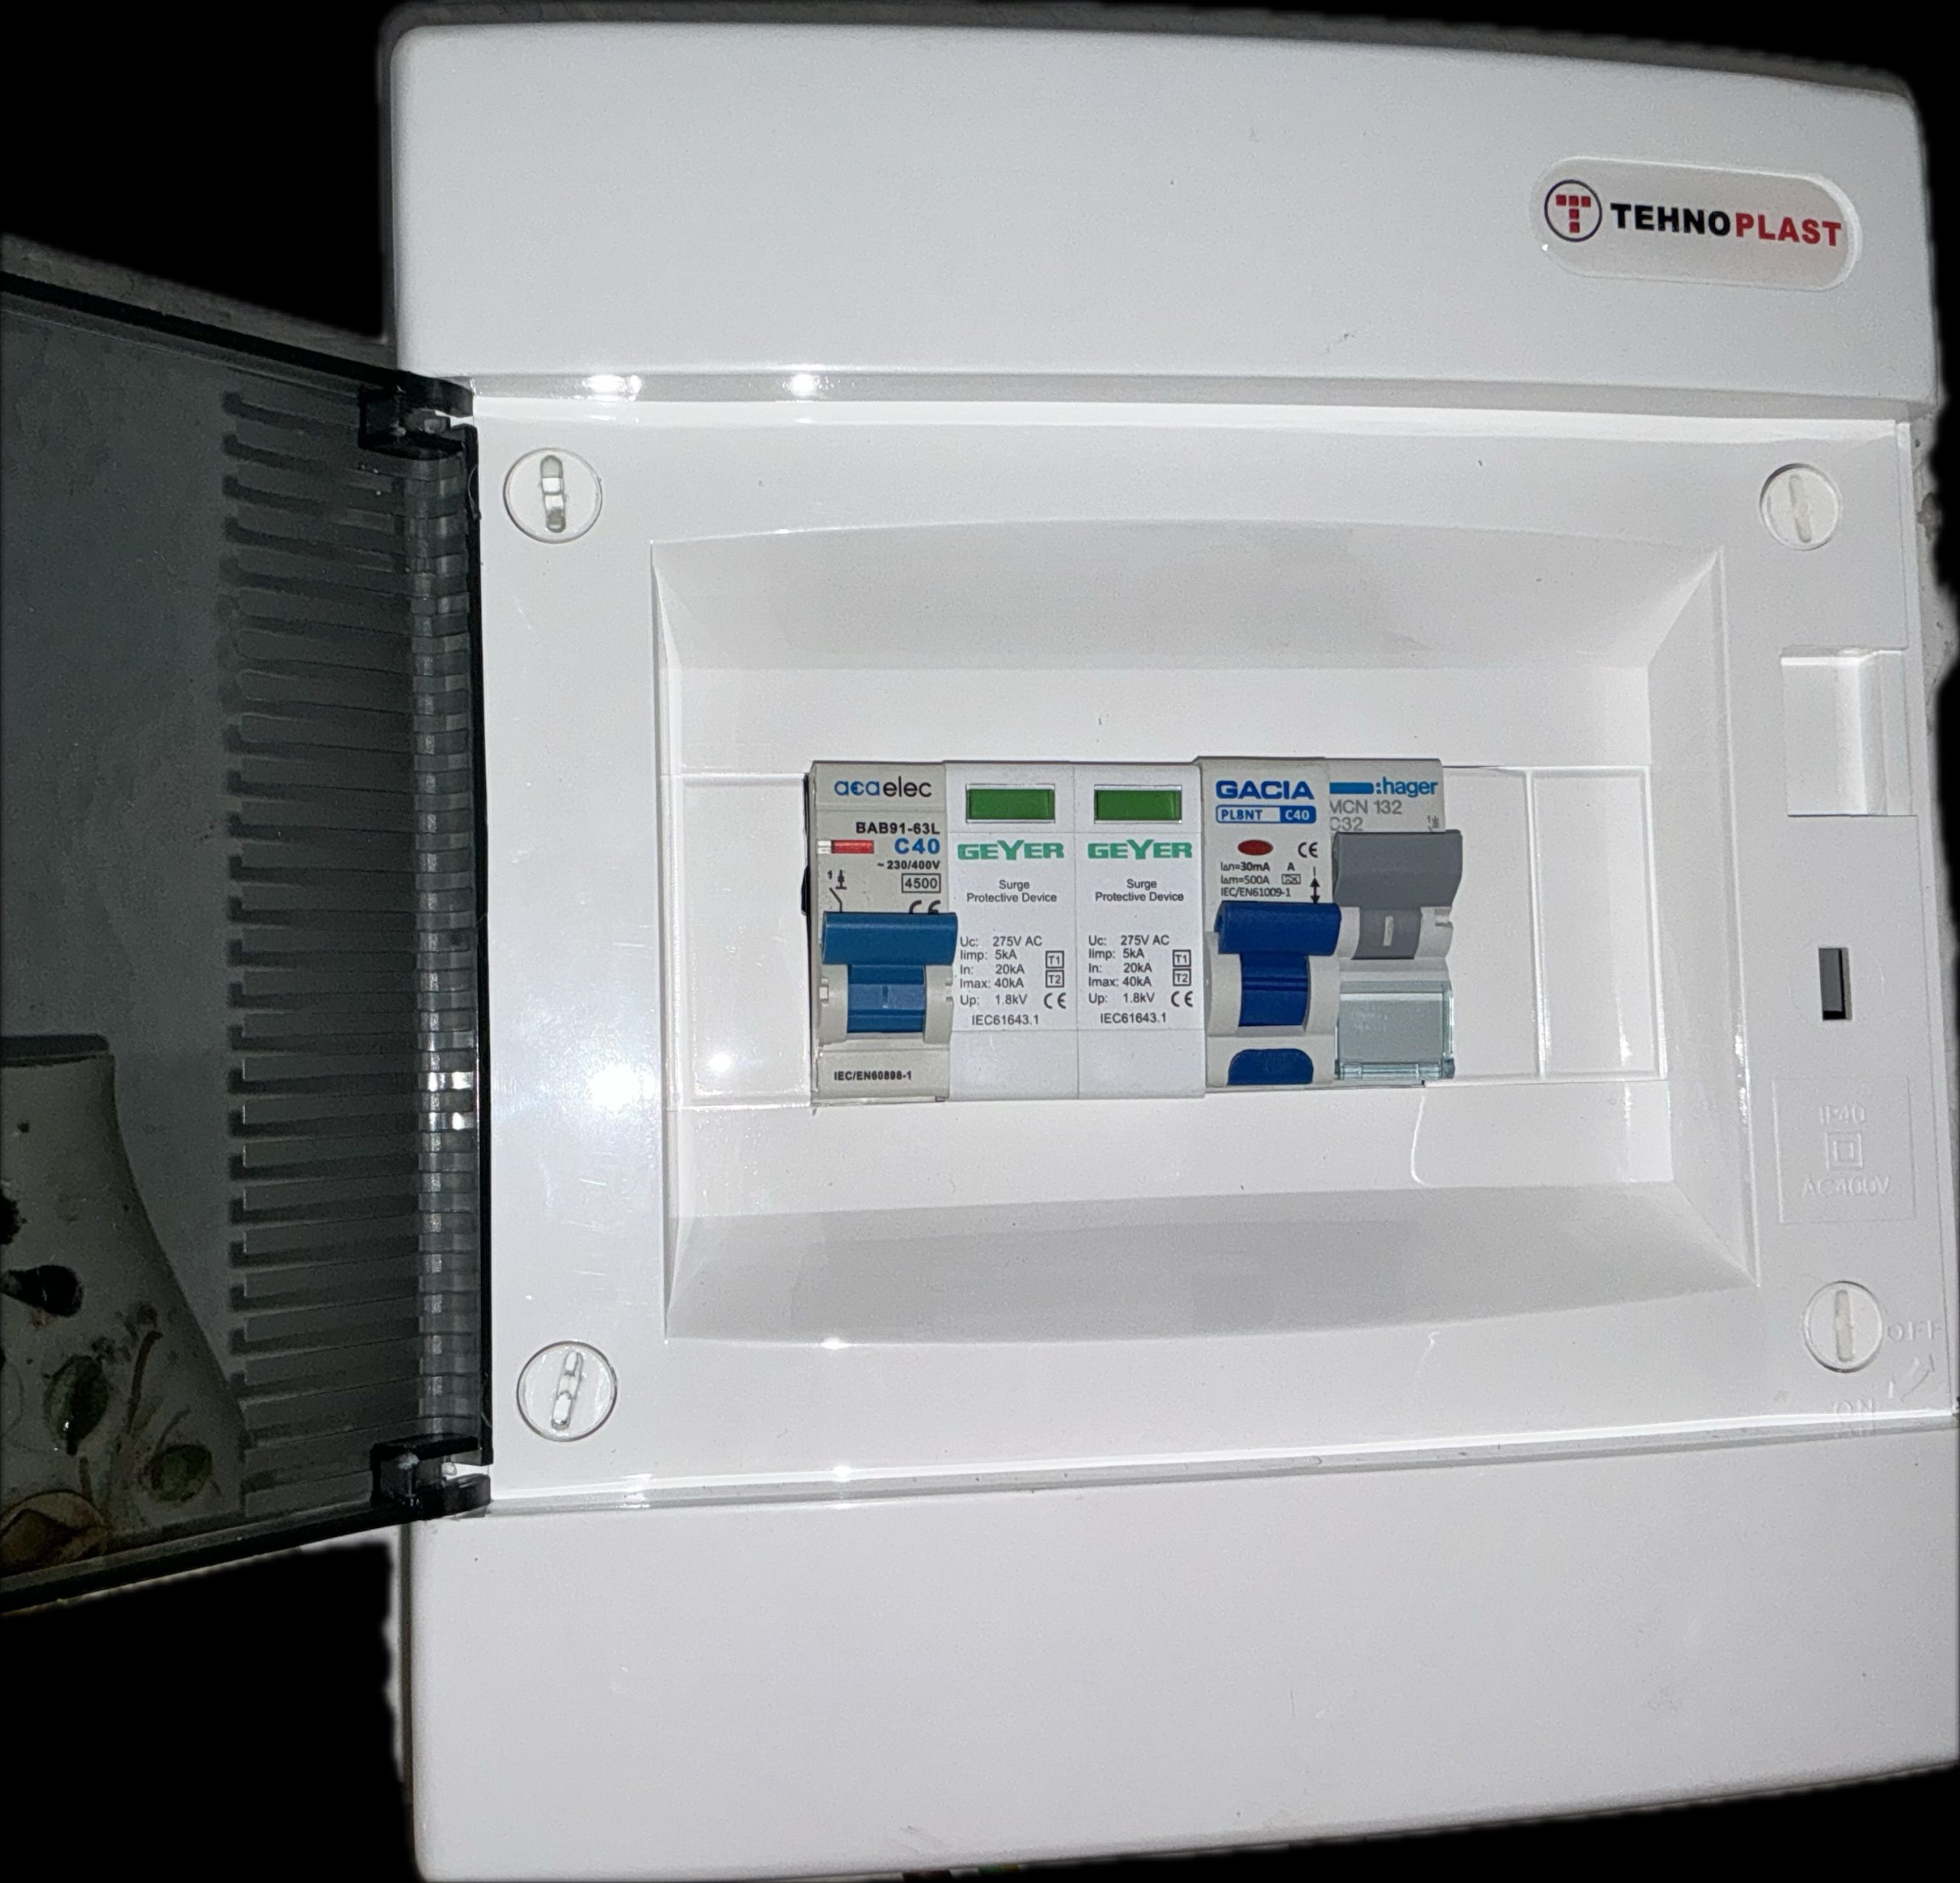
Below is a fully operational setup built as described. The charger reached its maximum of 32A, but due to the aging electrical infrastructure of the summer home, any additional high-consumption load (e.g., an old air conditioner) caused a voltage drop. In response, the charger automatically reduced its current draw to remain within safe operating limits.
DISCLAIMER: All components listed below were selected solely based on their technical specifications and suitability for this specific EV charging installation. They should be considered as indicative. No brand endorsement or advertising is intended. The components are sourced from the Greek market, as the project was implemented in Greece, but the overall approach remains applicable in broader contexts.
🔌 From the Main Panel
|
Cable: 3×10 mm2 Link to product 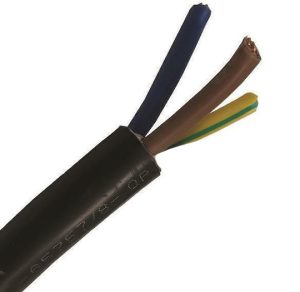
|
|
⚙️ New Subpanel – Component Order
|
8-module surface-mount enclosure (1 row): View enclosure Spacious and suitable for this setup. 
|
40A Circuit Breaker (Main Switch): View product 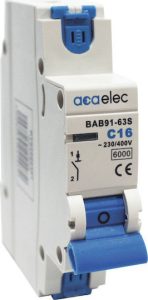
|
|
Surge Protection Device (SPD): View product 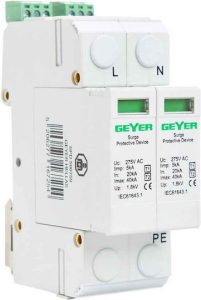
|
40A Residual Current Device (RCD): View product 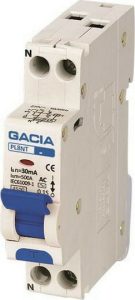
|
|
32A Circuit Breaker: View product 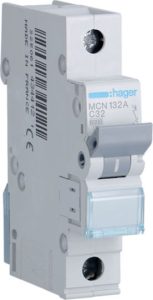
|
|
🏡 Outdoor Installation
|
3×6 mm2 Cable (up to 20 meters): View cable 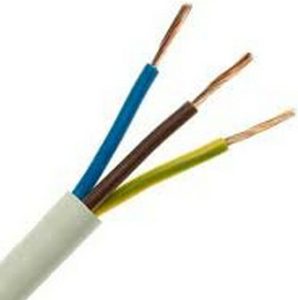
|
Heavy-duty 25 mm spiral conduit: View conduit 
|
|
25 mm pipe collars: View brackets  Use approx. one every 50–70 cm. Also requires screws with anchors or nails. |
Connectors & Elbows: Elbow Connector 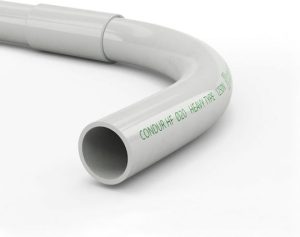  Important: Cut the conduit every 3–4 meters to insert the cable — connectors are necessary at these joints. |
|
Outdoor Junction Box: View box 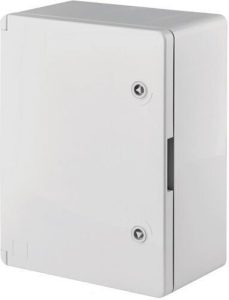 Should be large enough for the charger and seal shut properly. Remember to include some ventilation openings (hot air output near the top, cold air input near the bottom) and an opening for the charger cable at the bottom. |
Wall-mounted blue industrial socket (female): View socket 
|
|
Portable EV Charger: View charger 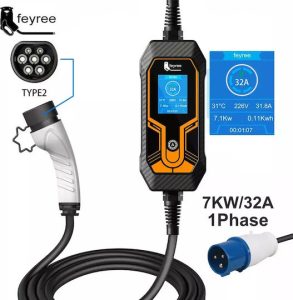
|
|
And here is the final complete panel at work.
|
